
Intro
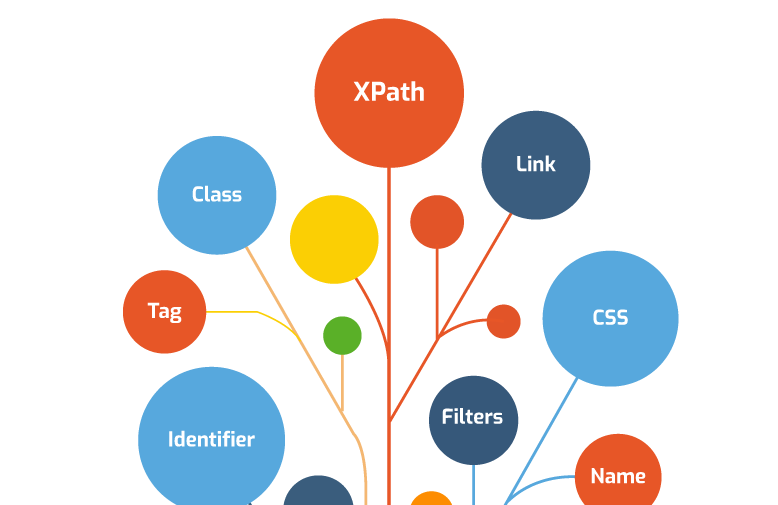
When it comes to finding locators in webpages, the best practice is through using unique attributes within the HTML. The most unique attribute is the ID attribute. We could also use the NAME attribute and, in some times, the CLASS attribute. Unfortunately, all auto-test experts warn the novice ones about using either CSS selectors or XPath and they don’t mention the reason. Actually, it reminds me with a well-known scene that turned into a meme from The Lion King movie …
XPath … Why not?
XPath (XML Path Language) is a query language for selecting nodes (XML tags) from an XML document. The accessibility for any node (element) is based on its location within the hierarchy of the WHOLE XML. Since HTML is also a markup language that has a hierarchical structure, therefore XPath can be smoothly used on HTML.
It’s been said that XPath is the riskiest approach to trace a web-element inside a webpage. Due to the high requirement changes and the high demand for presence of responsive webpages, the HTML structure is likely high to be changed frequently. Accordingly, the hierarchical route (that could be defined using XPath) of a certain web-element (button, input field, drop-down list, hyperlink, … etc.) is changes as well. As a result, the XPath is not stable and will cost the auto-testers much refactoring in every change with the HTML itself.
If you want to find the XPath of a certain tag in a webpage, you can do easily through the inspector:
1. Open the inspector of the browser,
2. Select the Elements tab,
3. Find the tag that presents the control which you’re interested in,
4. Right-click on it,
5. Hover on copy form the context menu, and
6. Select Copy XPath.
The screenshot below shows the how it looks like when attempting to copy XPath for a certain control (card) in a webpage.

Now let’s paste what was copied and discuss it:
/html/body/main/section[1]/div/div[2]/div[2]/div/h3
From the first look of the copied-and-pasted value, we can see that it looks like a directory path. But instead of folder names, the HTML tags were presented to determine the path from the root tag (html) to the in-depth tag (h3), which is the desired locator.
The number in square brackets presents a certain tag among other tags with the same name and same hierarchical level. For example, section[1]means that we have many tags called section, but we’re interested in the first one; because it has the desired locator (h3) deeply inside it.
We can translate this path into the following:
Start from the html tag, then move to body tag, then the main tag, then the first section tag, then div tag, and inside it move to the second div tag, then again the second div tag, inside it we have another div tag, and finally, inside the recent div tag, we have our destination, the h3 tag.
Well, I know how you feel right now! 😳
Too long, too complicated, and too exhausting! Honestly, this is a relatively easy path! There are much longer paths that for other web-elements. Moreover, if some changes took place, the whole path is ruined, and we have to copy the new one according to the newly changed HTML structure. So, is there another smart way to use XPath? Or shall we give up on locating element with such approach since it is risky and unstable to trace elements with?!
How to make it safe and easy with XPath?
XPath selectors can be written in smarter ways than the copied ones from the browser’s inspector. If you decided to learn XPath and how to use it, you will be surprised by the awesomeness of such tool. If you prefer a shortcut, you can google “XPath Cheat Sheet”, you will find a lot of results that helps you with simple, smart, direct selectors that you may use to locate elements in HTML and XML as well. We’re gonna try one of those simple examples, and use it instead of the long, static, selector that was copied before. The structure of the selector that we will be using alternatively is as follows:
//TAG_NAME[text() = 'TEXT_IN_WEB_ELEMENT']
Let’s talk about each part in the previous selectors:
1. The double slash(//):
Skip to a certain tag name within the HTML structure
(Don’t start from the beginning).
2. TAG_NAME: Here we put the name of tag we’re interested to find.
(Example: button, input, div, h2, … etc.)
3. text(): A function with XPath that is used to find if a certain control contains certain text inside it.
4. 'TEXT_IN_WEB_ELEMENT' : The value of that text with this web-element.
Looking back to the previous example, we tried to locate h3 web-element, which contains the following text: “Mobile Development”. Now, and based on the previous illustration of a smarter selector, we can try to type a different selector to find the same web-element as the following:
//h3[text() ='Mobile Development']
Let’s see the results in the inspector:
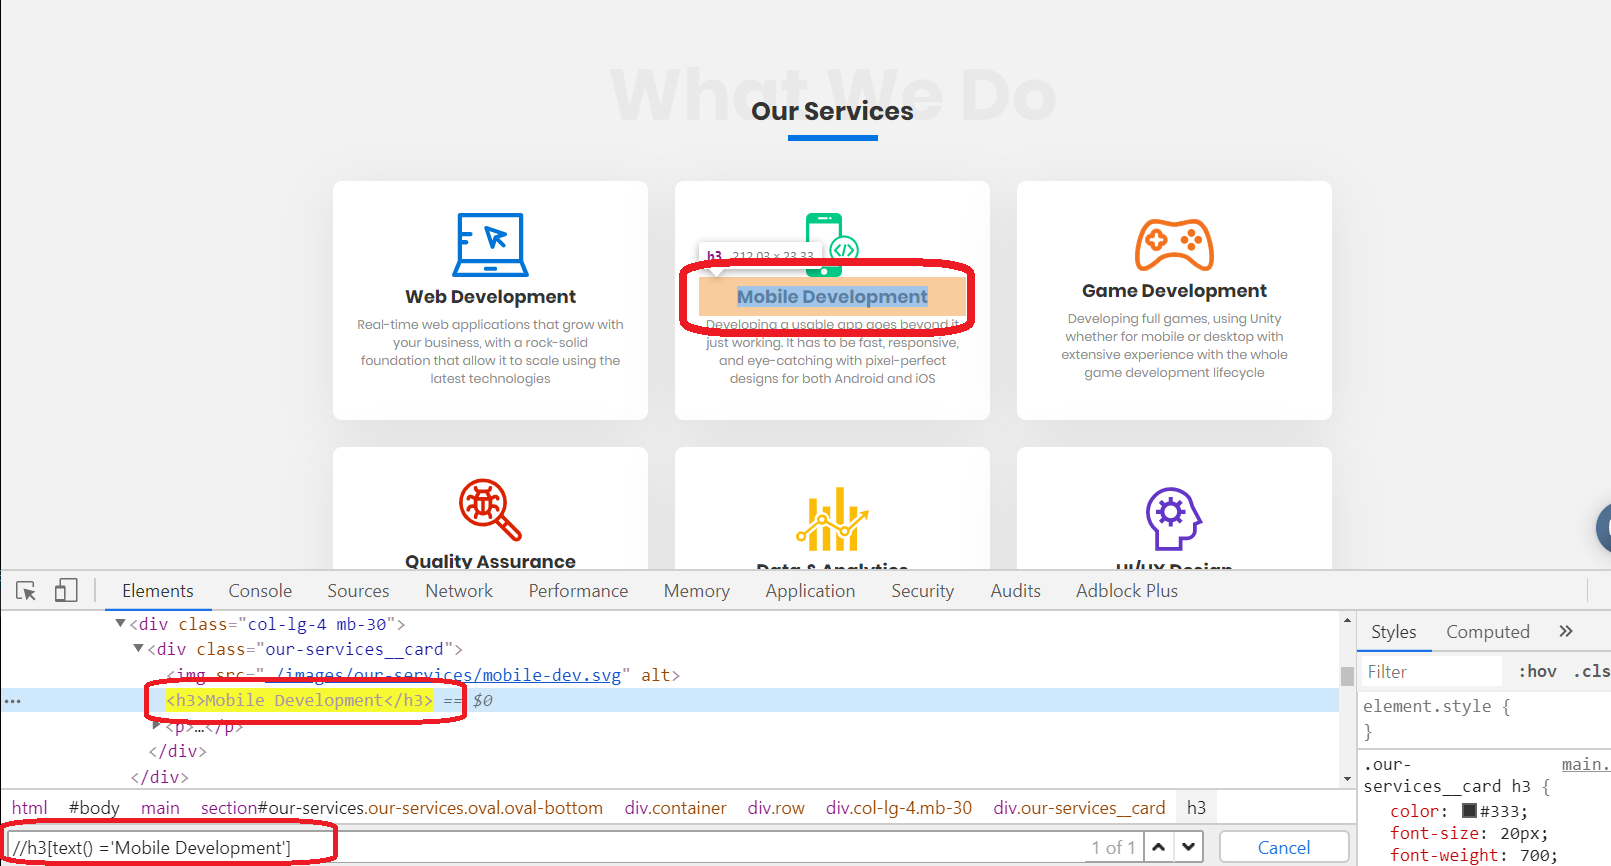
As displayed, the selector was able to find the same web-element in a smarter way. Now let’s move to the test script. If we try to find this element in test script, the following 2 lines will achieve the same goal:
$("/html/body/main/section[1]/div/div[2]/div[2]/div/h3");
OR
$("//h3[text() ='Mobile Development']");
But how about the other 5 cards? If you decide to use the first, risky, complicated selector for each card, then your code will be more complicated and unreadable. Plus, any additional card in the middle of those card will deprecate the whole script. But, if we think about generalizing the second, smart, simple, readable, selector, then we will be able to use it with no worries of changing in HTML structure. In Page-Object Model, we can do it as follows:
thirdHeaderValue(textValue) {
return $("//h3[text() = '"+ textValue + "']");
}
Then in the test script, we may type the following:
MyObj.thirdHeaderValue('Mobile Development');
Instead of:
$("//h3[text() ='Mobile Development']");
With such a generalized method, we can find the h3 web-element with all other 5 cards that exist in the same webpage:
MyObj.thirdHeaderValue('Web Development');
MyObj.thirdHeaderValue('Game Development');
MyObj.thirdHeaderValue('Quality Assurance');
……
Hey! Wait a minute!
We can do all of this without using XPath in the first place!
Why do we use it instead of the HTML attributes directly?
XPath has tons of features. It is maintainable, reliable (if used smartly) and easy to read and understand. You will never be struggling again to locate web-elements if you start to learn it and master its selectors. Despite the simple example mentioned in this article, XPath can be used to locate:
1. The parent web-element.
2. The side-by-side element in the same level.
3. The first, second, third, …, nth child of web-element.
Furthermore, when it comes to automating mobile apps, the main structure of screens and controls with native apps is based on XML, and the only selector that can deal with XML is XPath. XPath is your best choice for interacting with controls for mobile test automation.
Conclusion
XPath is a beautiful tool that auto-tester should be using in automation. It is powerful, readable, and makes things easier. It is compatible with all automation tools. Auto-Test Engineers cannot complete any auto-test suite without using XPath. So, instead of using it with concerns, we may move forward to gain a well-established understanding of XPath, and be trustful about using it efficiently.